It is important to follow the order of the sections in the below.
-
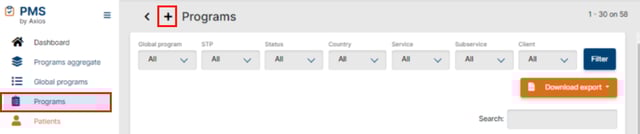
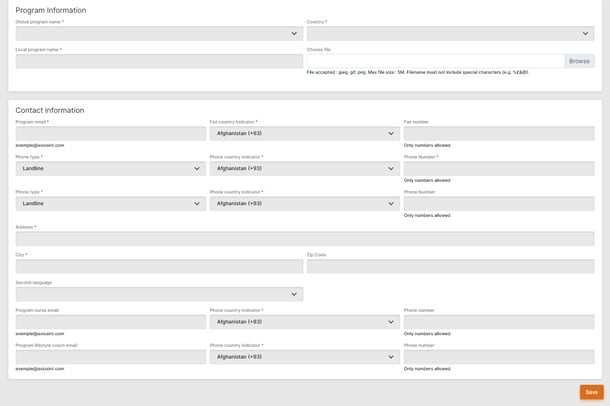
When creating a program, you should input program information first.
-
After clicking the Plus icon on the top of the Program screen, you will be redirected to a page for you to input all the necessary information about your Program.
-
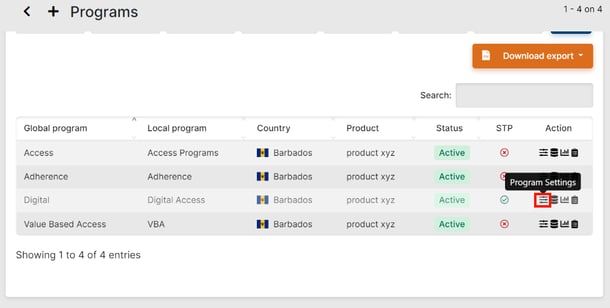
The next step is finding your Program in the Program list and Clicking "Program Settings"
-
You can then add additional info to the Program Settings as necessary under the "Information" tab

-
-
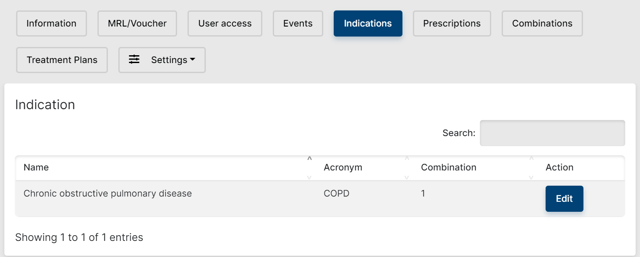
Then manage access to allow for your team to interact with the program.

-
Follow the creation of the program indications and prescriptions as agreed with the client during the program design.
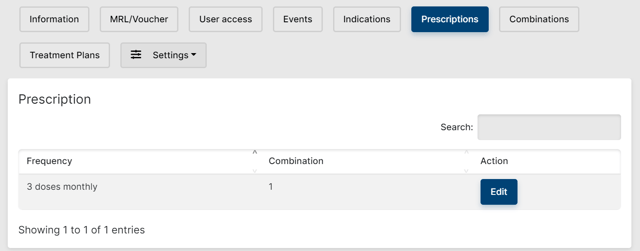
-
Finally, you should then combine them together with a specialty.
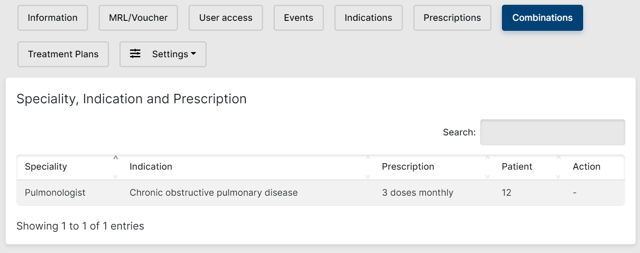
Remember: only a physician specialized in the specialty you set up will be able to refer patients for the combinations you save. -
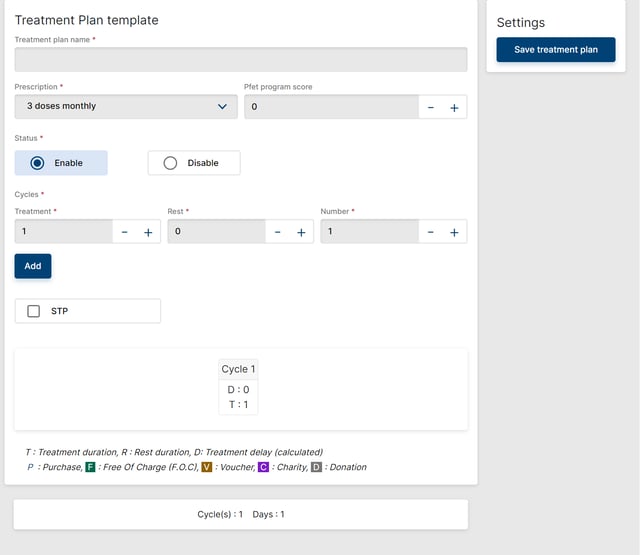
Finally, you should create the treatment plans according to the program design.

![]() Going Further
Going Further
To learn more on how to set a Local Program, please check the Local Program Configuration article.