Table of Contents
Account Creation
Please refer to the MyPharmacy: Introduction and Access article for more information about how to set the Pharmacy account in the PMS.
Logging in
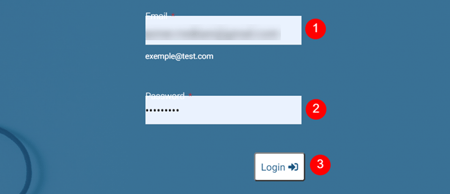
Logging in to the Portal gives you access to a host of functions for your Pharmacy. To log in the Pharmacy portal, simply navigate to the Pharmacy portal and complete the steps below.
-
Enter Username
-
Enter Password
-
Click Login to proceed to dashboard.
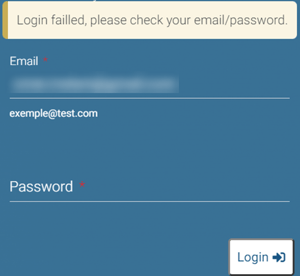
In the case of incorrect credentials, the page shows a dialog box informing users of the error.
Dashboard
The platform is divided into 5 sections, namely:
-
Dashboard
-
Refer a patient
-
MedPacks Dispensing
-
FOC Stock Management
-
Financials
All 5 sections can be easily navigated to via selection on the Sidebar.

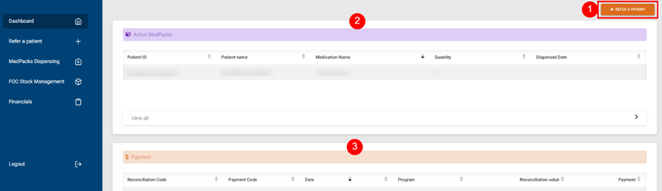
Upon logging in, a user is automatically redirected to The Dashboard, which is the central hub for all Pharmacy related information immediately.
Patient Referral
Patient Referral is an integral part of the Patient’s journey, to refer a patient:
-
Click the Refer a Patient button, in the top right corner of the Dashboard screen
(Directly above the Active MedPacks table).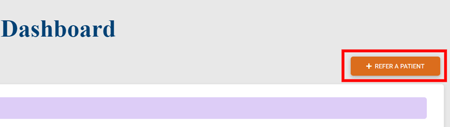
Alternatively, you can select the Refer a Patient menu option in the sidebar: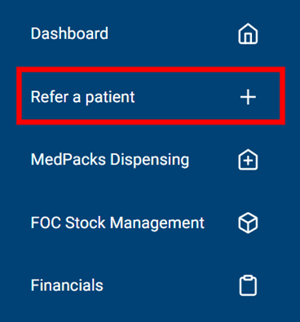
-
Program Selection:
Click the Select a Program dropdown and pick a Program from the list
Click the Select Button.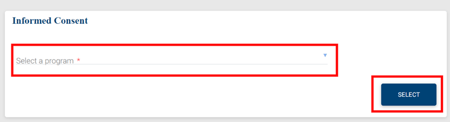
-
Consent and Information
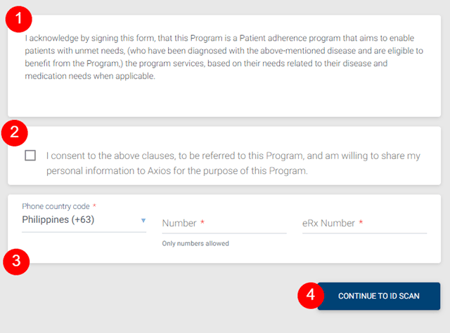
1. Review the consent agreement with the patient
2. Let the patient give consent by checking the box
3. Input the Patient’s Phone Country Code, Number and eRx Number (mandatory)
4. Click the Continue to ID Scan button -
Next, this dialog box pops up, showing that the Portal is waiting for scanner input.

This is an indication that you need to enter the patient’s details and/or scan the patient’s ID via the EID software (the process to follow depends on whether Patient is New or Existing. Steps are listed here)
Once the scanning is completed and saved, the system checks for the patient details through a secure connection. The scanning can take up to 3 minutes depending on bandwidth and the local network security measures. During that time, it is suggested to verify the patient’s prescription and insurance documentation -
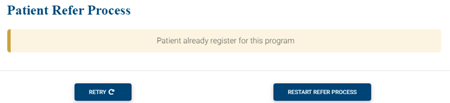
If patient is already referred, then the Referral Unsuccessful dialog box is displayed.
If no issue occurs, a message is displayed at the top of the page.
How to use MyPharmacy
A dedicated user guide is available here, and a quick introduction video is available here.
![]() Going Further
Going Further
Learn more about the MyPharmacy desktop application by checking our dedicated articles: